Your Cart is Empty

Want to move your coins out of Coinbase?
Need to get them on your Trezor?
What you need is a a step-by-step procedure.
Fear not. We’ve got you covered in this short guide!
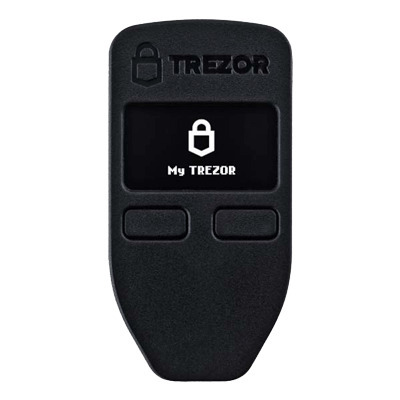
A person that has recently acquired their Trezor device, or is considering doing so, might not know how to transfer their funds from their Coinbase account to their Trezor device.
The following steps make it super easy and there are lots of detailed pictures to follow as well.
If you have set up the Trezor device and created an account on using wallet.trezor.io, transferring funds from Coinbase to trezor take only 13 simple steps:
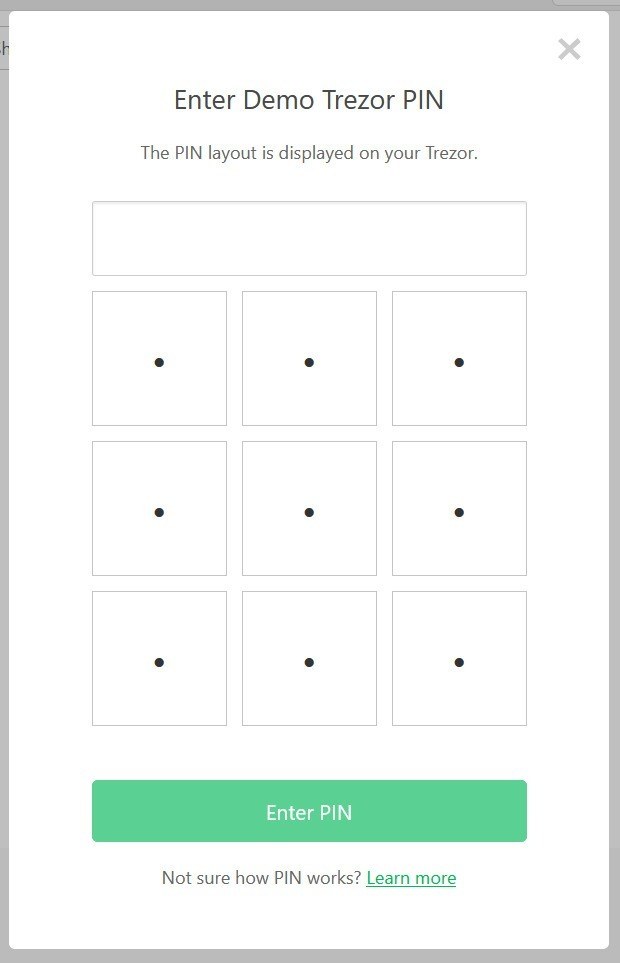
Connect your Trezor device to your PC and head to wallet.trezor.io
Warning: I would hyperlink it, but you should ALWAYS use a bookmark you have created to make sure you aren't being re-directed to a phishing site that looks like Trezor's site but designed to get information about your accounts.
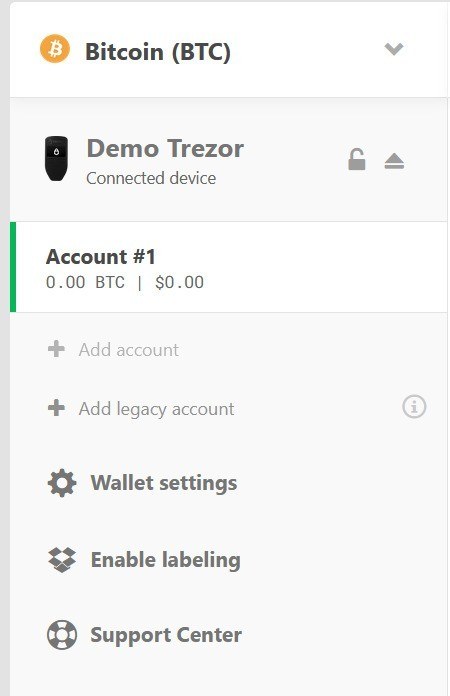
On the left hand side, select the account on your Trezor you want to transfer the coins to
On the top menu, select ‘Receive’ and then select ‘show full address’
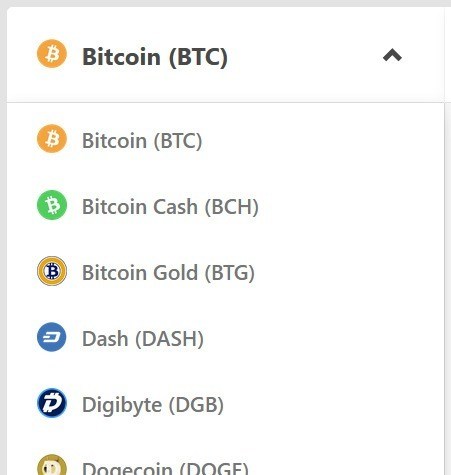
Warning:Do not send or receive transactions to addresses generated for a different cryptocurrency, e.g., bitcoin cash to a Bitcoin address. To change the kind of coin you want to receive, select the coin drop down above your device. Then select one of the supported coins.

Then select one of the supported coins.
Verify that the address on your computer screen matches the one shown on your Trezor device

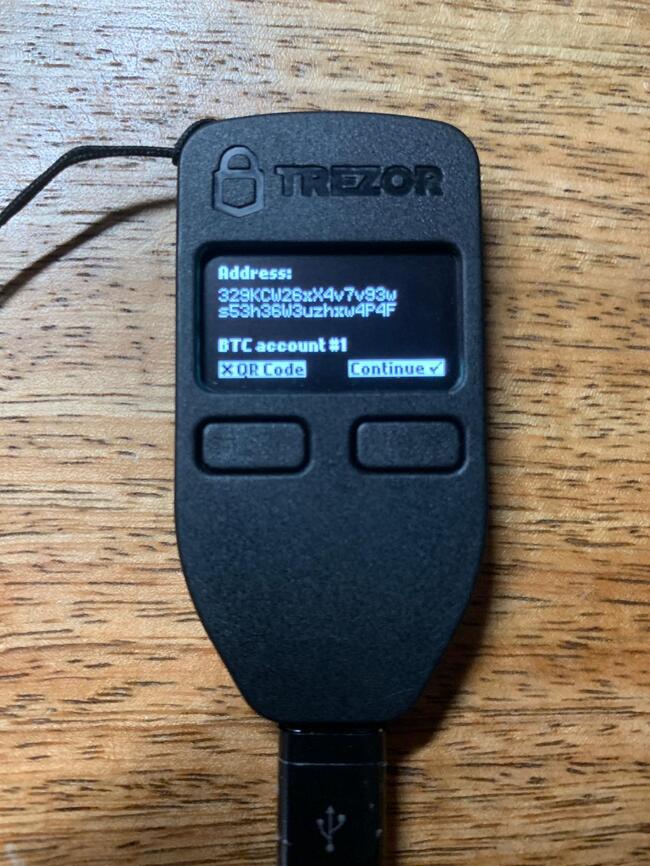
Warning: do not just check the first and last 4 characters. CHECK THEM ALL! This is the only way you can be sure that you are sending your coins to your actual address, and this is the whole point of a hardware wallet. If you aren't checking every character, you are taking an unnecessary risk just to save a few seconds.
At this point, you can choose to confirm by hitting ‘continue’, or you can select the left button to show a QR code to scan (if you are using the coinbase app, for instance).
If you scan the QR code using the coinbase app, you can skip to step 7.
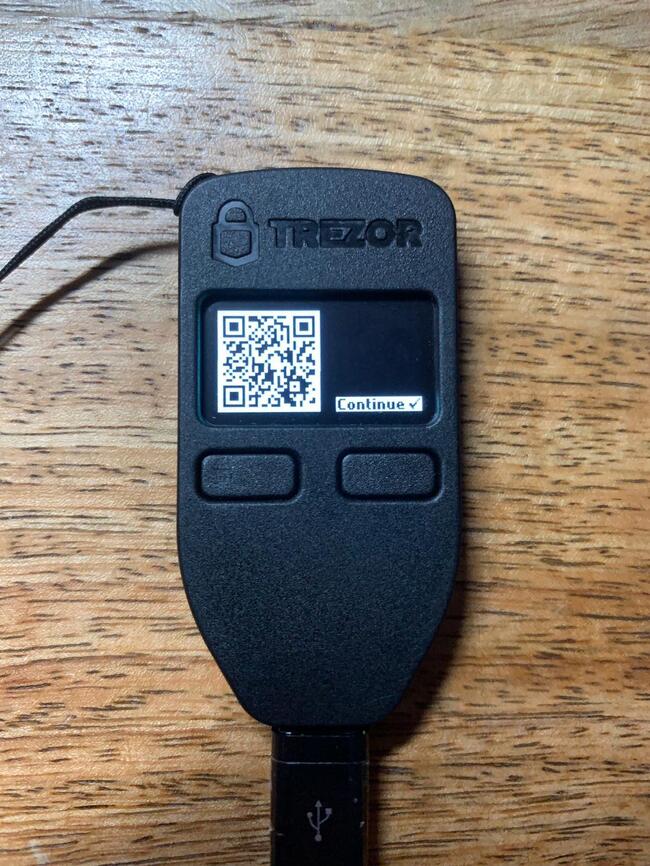
On your computer screen, highlight the address and copy it from wallet.trezor.io.
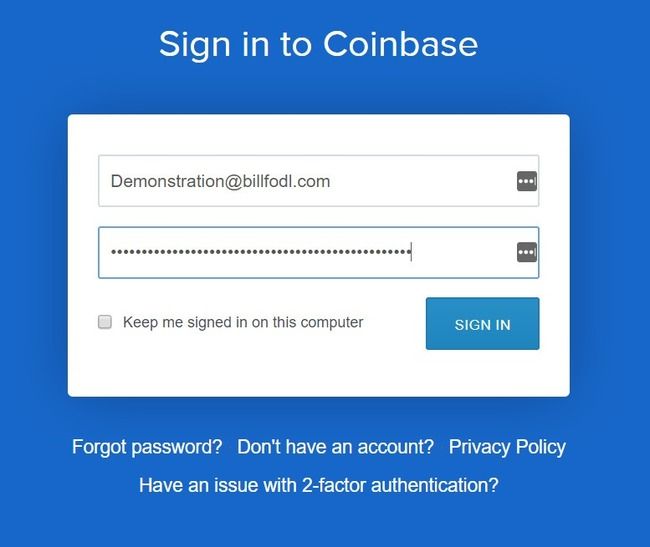
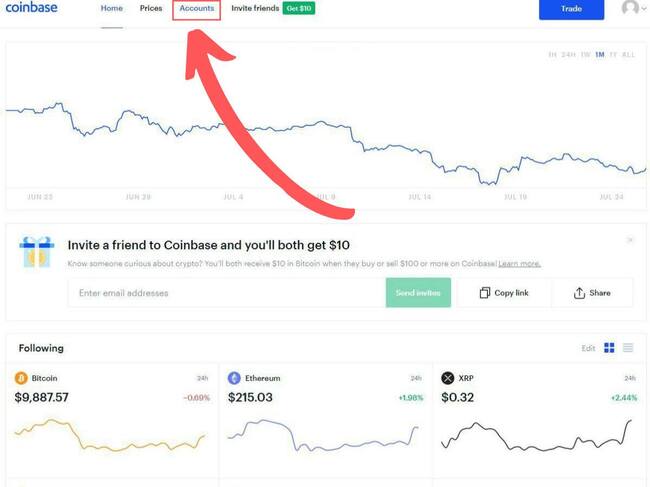
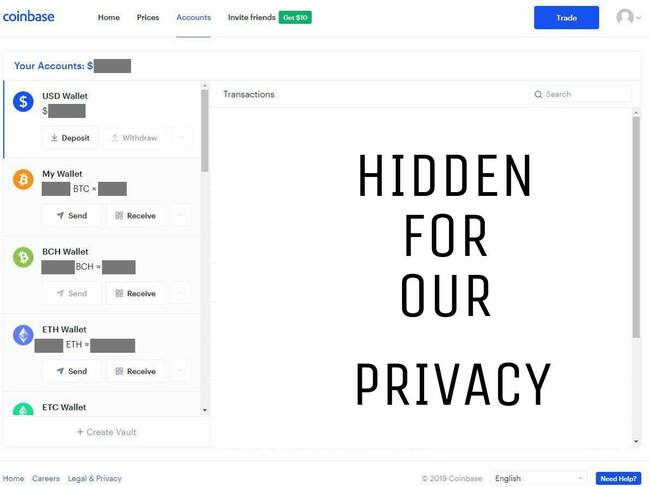
In the accounts section, select the account you want to send coins from.
Coinbase calls your Bitcoin wallet “My Wallet”, displayed with the orange B logo.
In this case, we are sending Bitcoin to our Trezor, so below “My Wallet” select “Send”
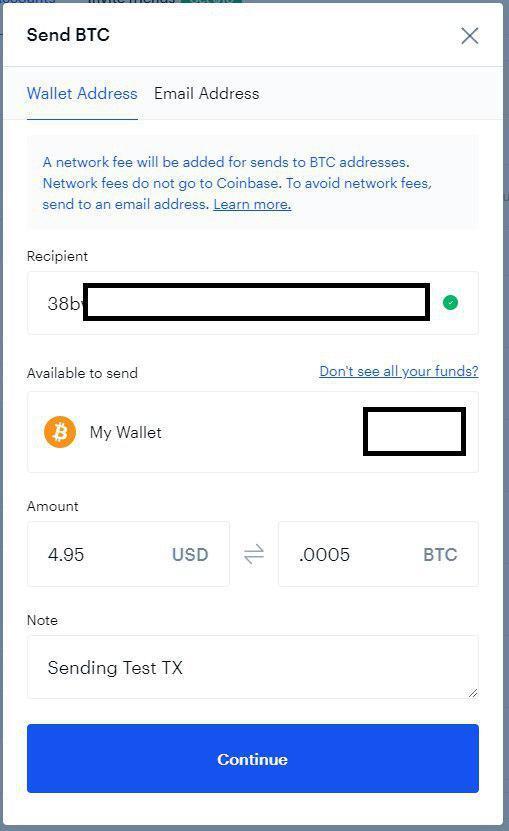
At this point, you will enter the address your Trezor gave you into the ‘Recipient’ box, followed by the amount of BTC (or other coin) you want to send (or a dollar amount of that coin), and a note, if you would like.
This note is to help you identify the transaction later on if you want - it does not go on the blockchain.
Now hit ‘Continue’.
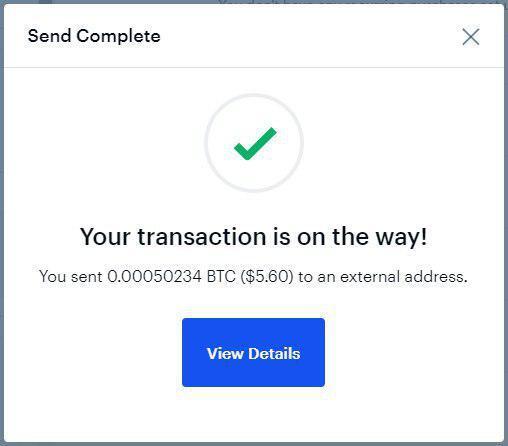
At this point, you can call it a day or…
You click ‘View Details’ to find the TXID of your transaction. This allows you to track its progress and observe how many confirmations it has over time. This will give you some idea of when you should see the coins appear in your Trezor wallet.
Here is what the details screen looks like:
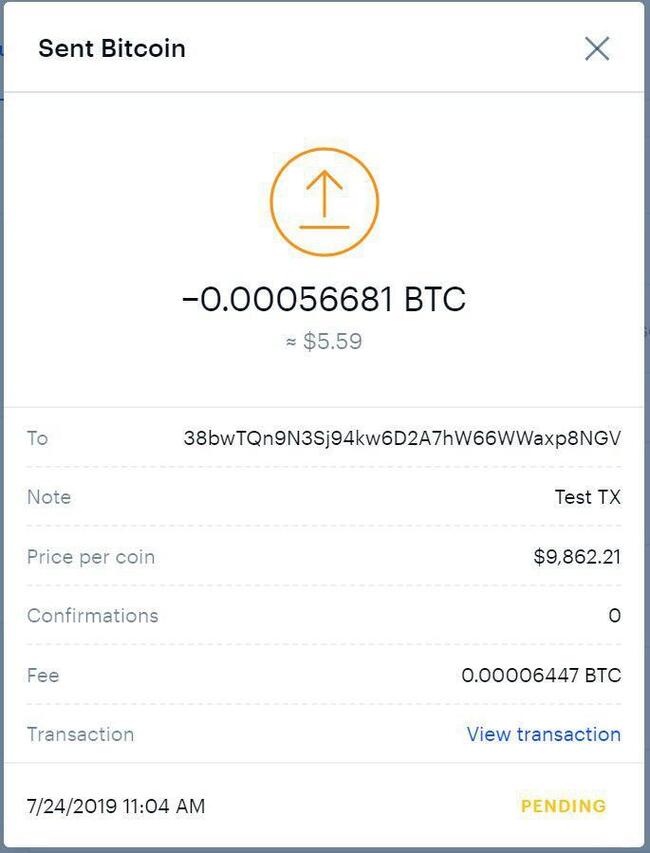
If you select ‘View Transaction’, you will be taken to the blockcypher block explorer to monitor this transaction.
However, we prefer the blockstream block explorer because it gives you helpful tips on how you can improve the privacy of your transactions in the future. Keep in mind Blockstream’s explorer only supports BTC transactions.
You can view the above transaction on that explorer.
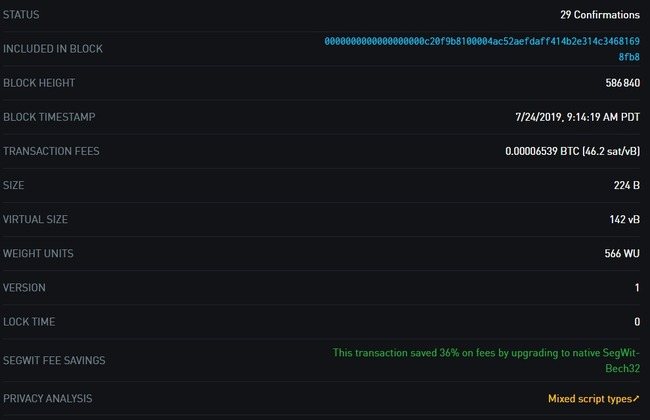
As you can see, this transaction already has 29 confirmations, so these funds are certainly visible in our Trezor by now. If you don’t have any confirmations yet, you will soon; how long just depends on what transaction fee you paid.
That’s it! You have successfully transferred your coins from Coinbase to your Trezor wallet.
Good work and congratulations.
Now all you need to do is take your crypto security to the next level with Billfodl.
The Billfodl is a way to backup your Ledger device so that you are protected from natural threats to your coins like fire and flood. You can learn more about the Billfodl or you can add it to your cart by clicking the button below.
As people learn more about cryptocurrencies, they begin to see that exchanges are not necessarily safe places to store their coins.
And no matter how big or small the cryptocurrency portfolio is, no one likes to lose their money.
Hodlers, therefore, look for alternatives in safer and more secure devices. One such device is the Trezor hardware wallet.
The Trezor guarantees full custody of the private keys to the owner of the wallet itself.
This is an improvement over exchanges, which hold all of the keys to your coins on the exchange, which make them the “owners” of the funds stored.
If you cannot see your coins at all after you have transferred them from Coinbase (or anywhere for that matter), its probably because you sent them only moments ago. That transaction needs time to reach Trezor’s node.
When you sent your coins on Coinbase to your Trezor, you were actually telling Coinbase to broadcast a transaction (on your behalf) to all the nodes on the network. Until Trezor’s node sees this transaction, your coins will not appear on your Trezor wallet at all. However, once Trezor’s node sees the transaction, the coins will show up as pending in your Ledger wallet. You won’t be able to spend the coins yet and they won’t show up in your balance because technically the coins are not in the wallet yet. Trezor’s node is just aware that you have requested to move the funds and your wallet is letting you know that this has been acknowledged.
Trezor changes the state of your transaction to ‘confirming’ once it has received at least 1 confirmation, meaning your transaction has been included in at least 1 block.
